
How Disc Golf Discs Are Made: From Plastic to Precision
Ever wonder how your favorite disc golf discs go from raw plastic to the tools we trust for every shot? The process behind disc manufacturing is more technical than you might think, involving precision molds, specialized plastic blends, and rigorous quality control. In this guide, I’ll walk you through how disc golf discs are made—from start to finish.
Step 1: Designing the Mold
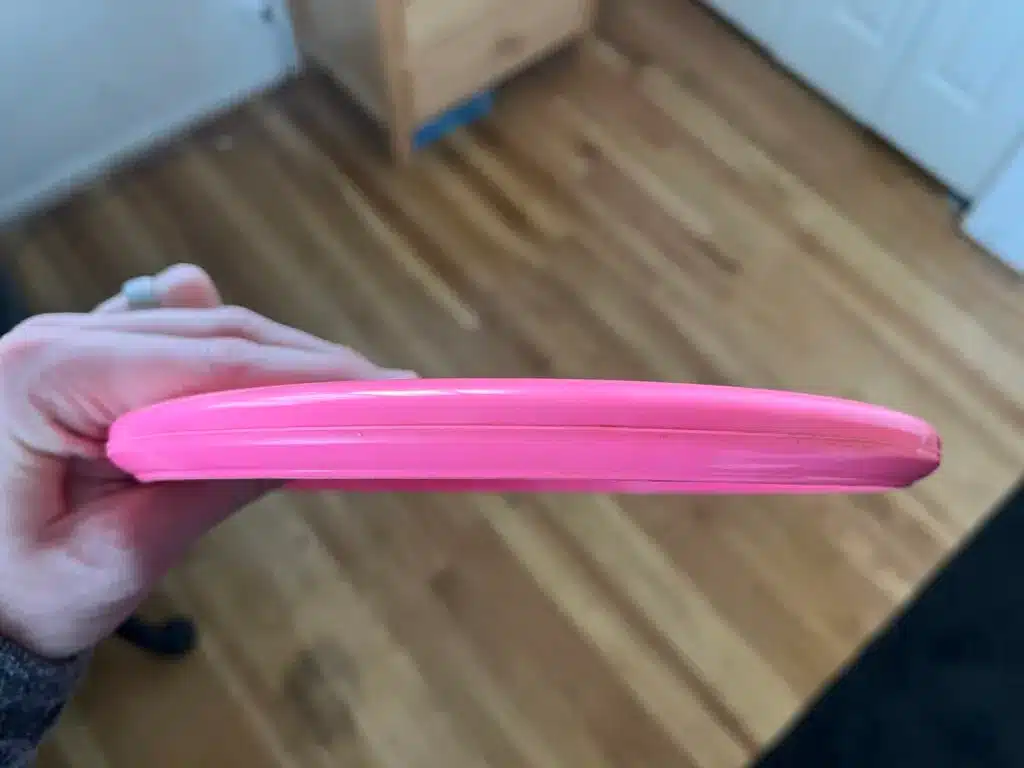
Every disc starts with a design. Manufacturers use CAD (Computer-Aided Design) software to create the exact specifications of a disc—diameter, height, rim depth, and wing shape all impact how a disc flies. Once the design is finalized, a mold is produced, usually made of steel or aluminum, that will be used in the injection molding process.
- Mold determines the flight characteristics: Speed, glide, turn, and fade all start with shape
- Separate molds for top and bottom pieces: These combine during molding to form the full disc
Step 2: Choosing the Plastic
Next comes the plastic. Most disc golf manufacturers use proprietary blends to create their unique plastics. These blends vary in grip, flexibility, and durability, which is why the same mold in different plastics can feel and fly differently.
Some common plastic categories include:
- Basic – Most affordable and grippy, great for putters
- Premium – Durable with long-lasting flight characteristics
- Durable blends – Strike a balance between grip and longevity
- Glow or special edition blends – Often used for night play or limited releases
Step 3: Injection Molding
This is where the magic happens. The plastic pellets are melted down and injected into the disc mold at high pressure. The mold then cools rapidly to solidify the disc into its final shape.
- Cycle time: Usually just a few seconds per disc
- Consistent pressure and temperature are critical to avoid warping
Once cooled, the disc is ejected from the mold and moves on for finishing.
Step 4: Cooling and Trimming
Even with precision molds, small bits of extra plastic called “flash” can form along the edges of a disc. These are trimmed off by hand or with machines to ensure a clean rim and consistent weight distribution. Discs are also cooled completely before any additional steps are taken.
Step 5: Stamping and Labeling
After the disc is trimmed and cooled, it’s time for hot stamping. This is how logos, flight numbers, and other artwork are added. A thin foil is pressed onto the disc using a heated die to bond the design to the surface.
Manufacturers often stamp the following:
- Disc model and brand logo
- Flight numbers (e.g., 9/5/-1/2)
- Plastic type (e.g., 400G, Star, Neutron)
Step 6: Quality Control and Weighing
Every disc gets weighed and inspected before it gets packaged. Weight plays a huge role in how a disc performs, so manufacturers aim for consistency. Most discs fall between 165–175 grams, but lighter options are often available too.
Some discs may be rejected due to minor imperfections or off-spec weights. Others may be sold as “factory seconds” or misprints.
From Factory to Fairway
Once approved, discs are packed up and shipped to retailers like us at Altitude Disc Golf. From there, they go into your bag and (hopefully) into the chains. It’s a detailed process, but it ensures the disc in your hand is consistent, PDGA-approved, and ready for play.
Next time you grab a new disc, you’ll know exactly what went into making it fly just the way it does.