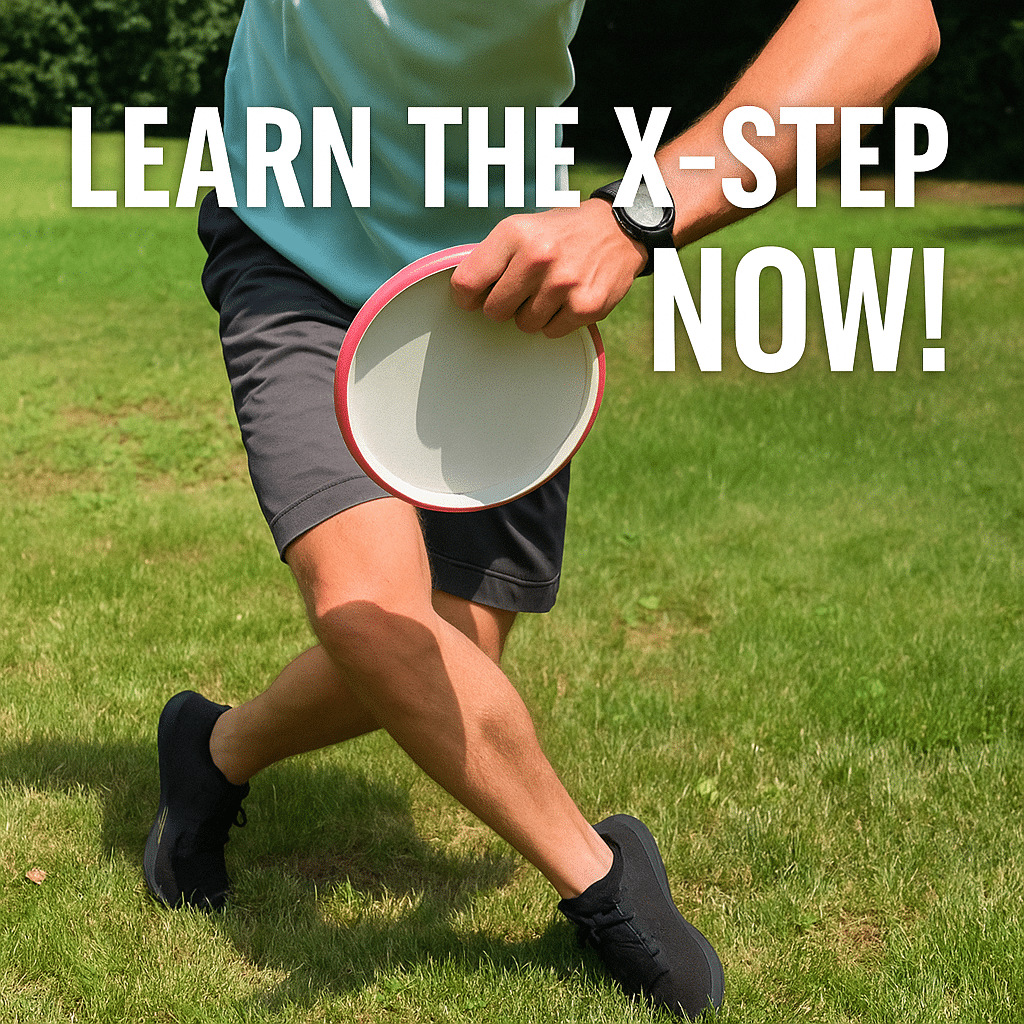
Improving your backhand distance in disc golf isn’t just about arm speed. The real secret comes from using your lower body. With the right footwork, you can engage your hips and legs, generate more momentum, and add serious power to your throws. One of the most effective ways to do this is by learning the X-Step.
What Is the X-Step?
The X-Step is a controlled three-step run-up used on backhand drives. Instead of relying on a full sprint or a rushed approach, the X-Step lets you build power while staying balanced and accurate. It’s the foundation of most professional players’ driving form.
How the X-Step Works
- For right-handed players: step first with your right foot, then bring your left foot behind your right (forming the “X”), and finish with another step on your right foot.
- For left-handed players: reverse the sequence.
This sequence puts your body in a strong position for a full reach-back and a powerful release.
Step-by-Step Breakdown of the X-Step
1. Set Up and Aim
Line up your body so that your throwing shoulder points toward the target. Extend your arm with the disc to lock in your line. Remember, your “target” isn’t always the basket—it could be an aiming point for a hyzer, anhyzer, or line around an obstacle.
2. First Step with Your Dominant Foot
Take your first step with your throwing-side foot (right foot for right-handed players). Keep your upper body moving along a straight line toward your target while placing this step slightly forward of that line.
3. Cross Step with Your Non-Dominant Foot
Bring your non-dominant foot behind your lead foot, creating the “X” position. This is where your reach-back begins—pull the disc straight back while your head and shoulders turn away from the target.
4. Final Step with Your Dominant Foot
Plant your dominant foot firmly. Your reach-back should now be fully extended, ready to explode into the throw. Drive your elbow forward and pull the disc along a straight line toward your target as your hips and shoulders rotate.
5. Release and Follow Through
Let your momentum carry through the release. Your throwing arm should swing across your body, and your trailing leg should pivot around. This follow-through prevents injury and ensures that all of your generated force transfers into the disc.
Tips for Transitioning to the X-Step
If you’ve been throwing from a standstill, the X-Step may feel awkward at first. Here’s a simple way to build up:
- Start with a one-step throw – Take a single lead step with your dominant foot and work on timing your reach-back and release.
- Slow it down – Practice the X-Step at walking speed before adding speed. Balance and accuracy matter more than rushing.
- Reset if needed – If you lose balance, stop and start over. Clean, consistent form builds muscle memory.
Still Struggling?
Form changes take time. If you’re still having trouble, check out this instructional video by Danny Lindahl of Dynamic Discs. His slow-motion breakdown makes it easy to see how each step works together.
Recommended Gear for Practicing the X-Step
When learning new footwork, it helps to practice with discs that are forgiving and easy to control:
A reliable midrange like Discraft Buzzz holds your release angle, making it great for form work.
Putters – Putters like the Innova Aviar are perfect for controlled drives when dialing in footwork.
Discmania Fairway Drivers – Stable, easy-to-throw drivers help you test the X-Step without overpowering your form.
Final Thoughts
The X-Step is one of the most important techniques in disc golf. It builds a strong foundation for distance, control, and consistency. Take your time, practice slowly, and you’ll notice your throws traveling farther with less effort.
If you’re just starting out, you may also enjoy our guide on the best discs for beginner disc golfers.

