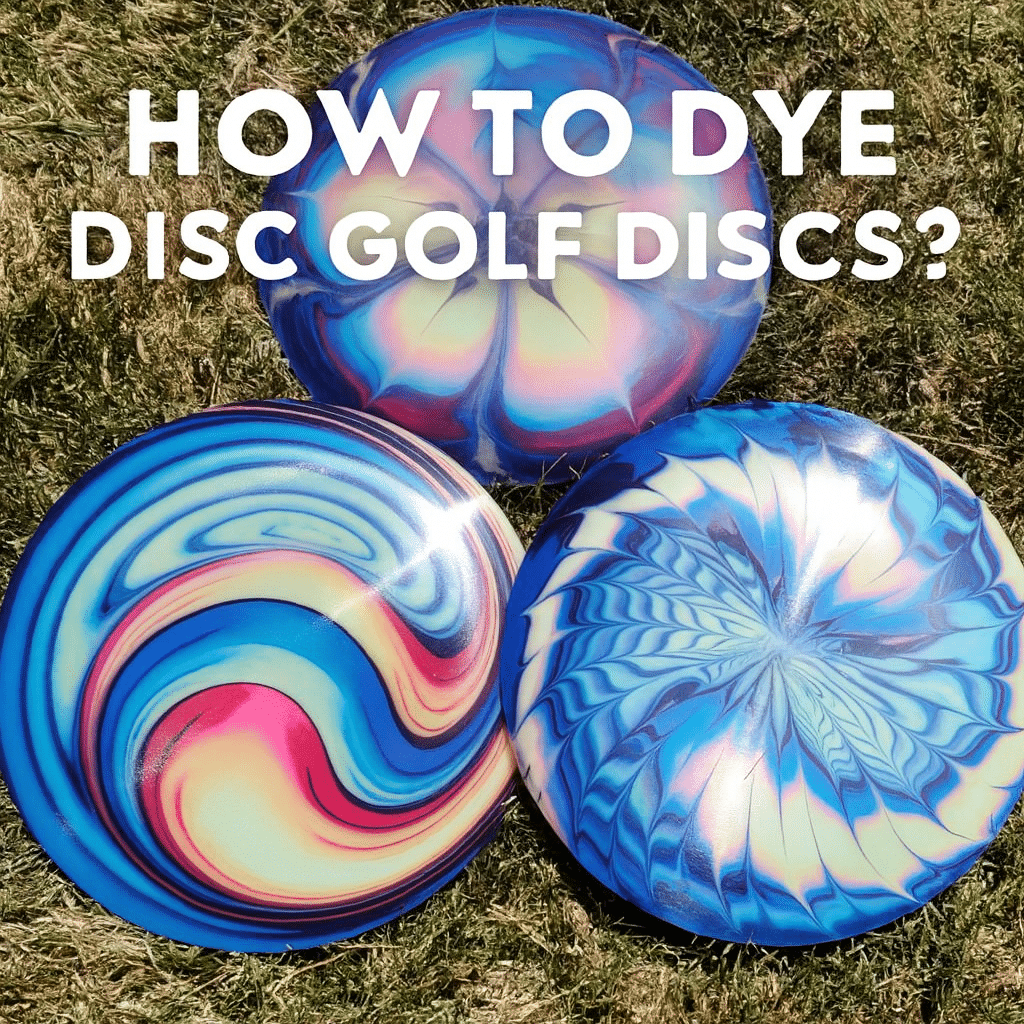
One of the best parts of disc golf is making the game your own. Beyond choosing discs that fit your throw, you can also customize them with unique designs. Dyeing discs has become a popular way for players to add personality and flair to their gear. In this guide, I’ll walk you through how to dye disc golf discs, step by step, and share a few creative techniques to try.

Choosing the Right Disc for Dyeing
The best discs to dye are light in color, like white or light gray. These give the dye more contrast and allow colors to pop. Premium plastics tend to hold dye best, including:
- Innova Star and Champion plastics
- Discraft Z-Line plastic
- Other premium blends with durable, smooth surfaces
Baseline plastics don’t always take dye as well and may fade faster with use.
Picking the Right Dye
Not all dyes bond well to disc golf plastics. The most reliable choices are synthetic-friendly dyes like:
- iDye Poly
- RIT DyeMore (not regular RIT)
- Jacquard iDye
These are specifically designed for plastics and produce vibrant, lasting colors.
Essential Materials
Before starting, gather these supplies:
- A light-colored disc golf disc
- Stencil paper or a vinyl cutter
- Adhesive spray
- Dye and a plastic container
- Hot water and a stirring stick
- Gloves and rubbing alcohol
- Paper towels
Step-by-Step Disc Dyeing Process
Step 1: Prepare the Design
Create your stencil using a vinyl cutter or stencil paper. Spray adhesive on the back and carefully attach it to your disc.
Step 2: Mix the Dye
Put on gloves and mix the dye with hot water according to the package instructions. Stir until fully dissolved.
Step 3: Submerge the Disc
Place the disc in the dye bath, using a spoon or stick to hold it under. Leave it submerged for about 20 minutes, or longer for darker colors.
Step 4: Rinse and Remove Stencil
Rinse the disc under cold water to remove excess dye. Peel off the stencil, and if adhesive remains, use rubbing alcohol to clean it off.
Step 5: Dry and Finish
Pat the disc dry with paper towels. Once it’s fully dry, it’s ready to throw—or to show off.
Other Disc Dyeing Techniques
Dip Dyeing
This method creates a gradient effect by dipping part of the disc into the dye, pulling it out slowly, and repeating until the look is right. It’s simple, but it can be messy, so always wear gloves and work in a ventilated area.
Shaving Cream Method
Spread shaving cream on a tray, add drops of dye, and swirl with a stick to create marbled patterns. Press the disc face into the mixture, leave it to set, then rinse it off. The result is a unique, one-of-a-kind design.
Safety Tips
- Wear gloves to protect your skin from dye and chemicals.
- Work in a ventilated space to avoid inhaling fumes.
- Dispose of dye and materials responsibly.
Final Thoughts
Dyeing discs is a fun, creative way to personalize your gear. Start with a light-colored premium plastic, use the right dye, and try out different techniques. With a little practice, you’ll have discs that not only fly great but also stand out on the course.
If you’re still building your collection, check out our selection of disc golf discs and experiment with dyeing a few of your extras. It’s a great way to combine art with the sport we love.
